Cinnabon Rolls

Thursday, September 22, 2011

| | | 1 comments


I remember the first time I ever had a Cinnabon roll… I was pregnant with Gabriel and was on my carb diet… I was waddling through the mall following DH and smelled the most wonderful smell… a carb smell.. a smell of melted butter mixed with cinnamon and sugar… a extra five lbs smell..
I had to have one..
After shelling out $5 for a over sized cinnamon roll and scarfing it down I knew there was no way I could ever justify doing that again…
I had dreams of those rolls.. and nightmares of the rolls that it gave me.
So I went on a search of a recipe that could come close..
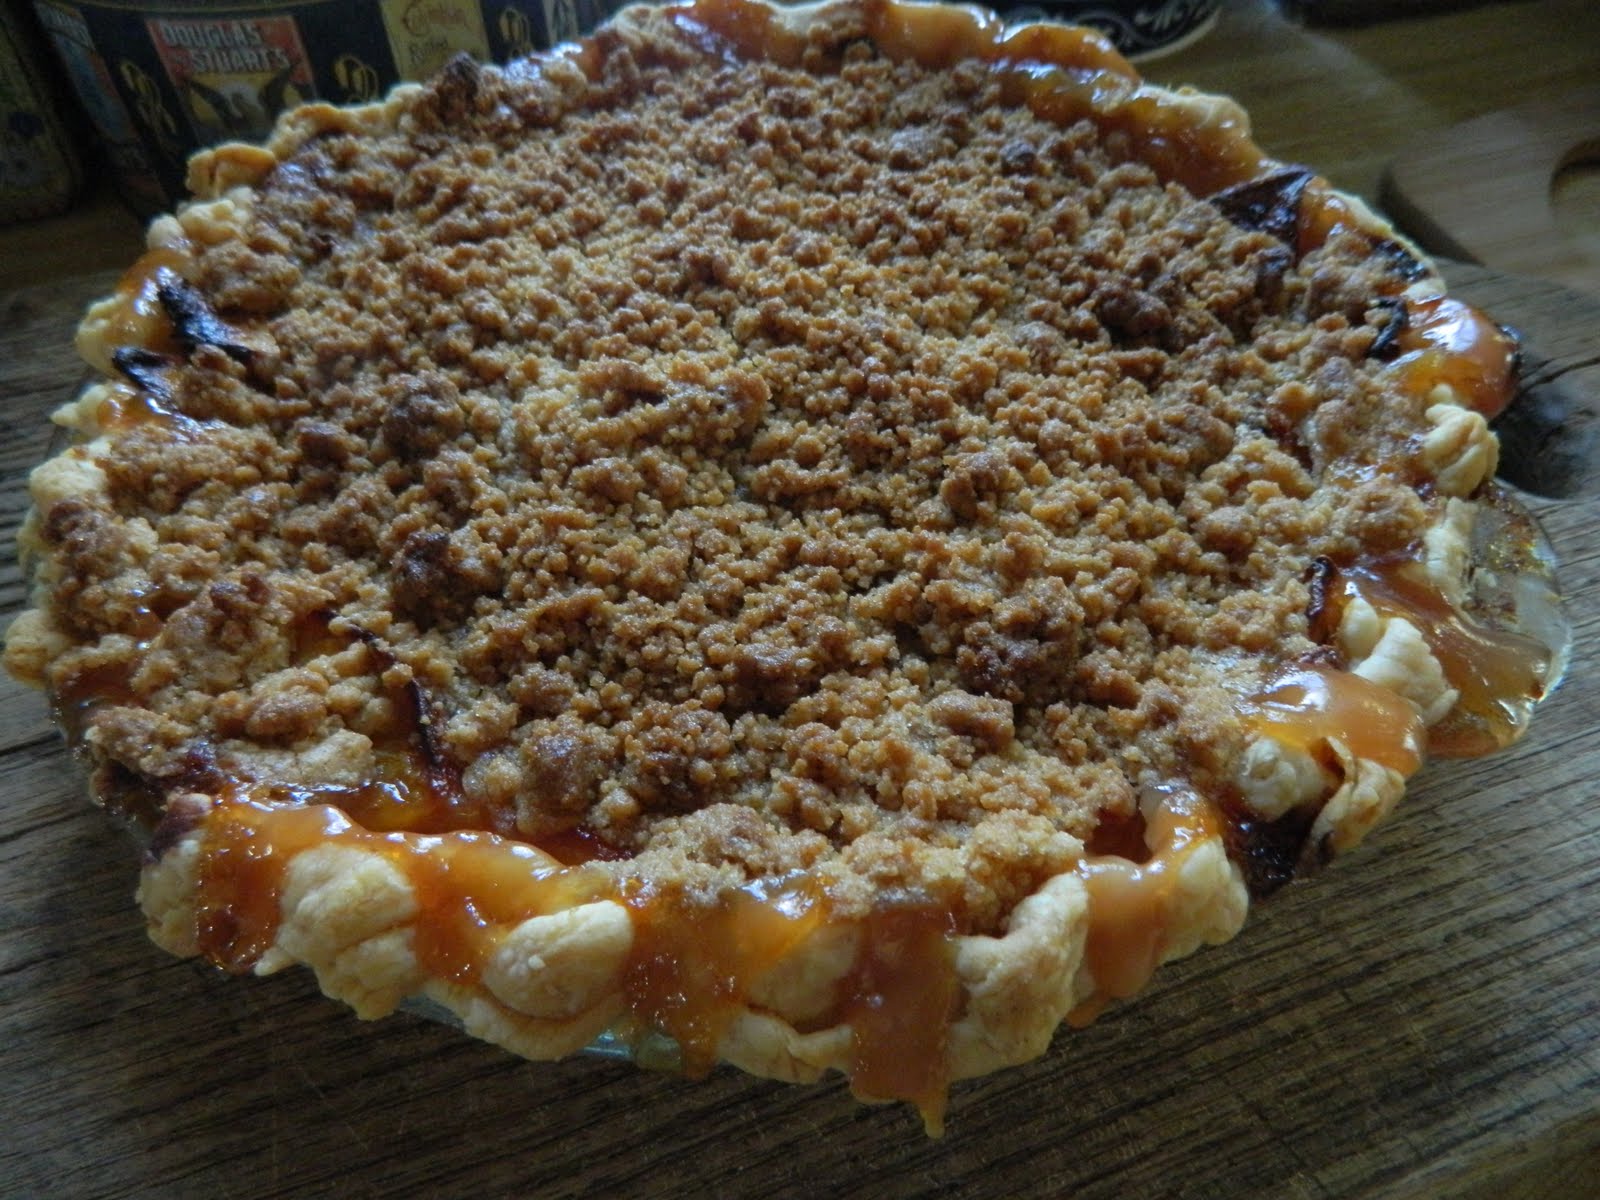
But before I go even farther in my proclaiming of my love of all things fattening and bad for you and the sharing of recipe that is such I should say that when I made these it ended up being the start of a very bad week… there is no finished picture of the rolls… nor any of the icing being made… everything went down hill when I woke up Monday.
But do make these… they are perfect.

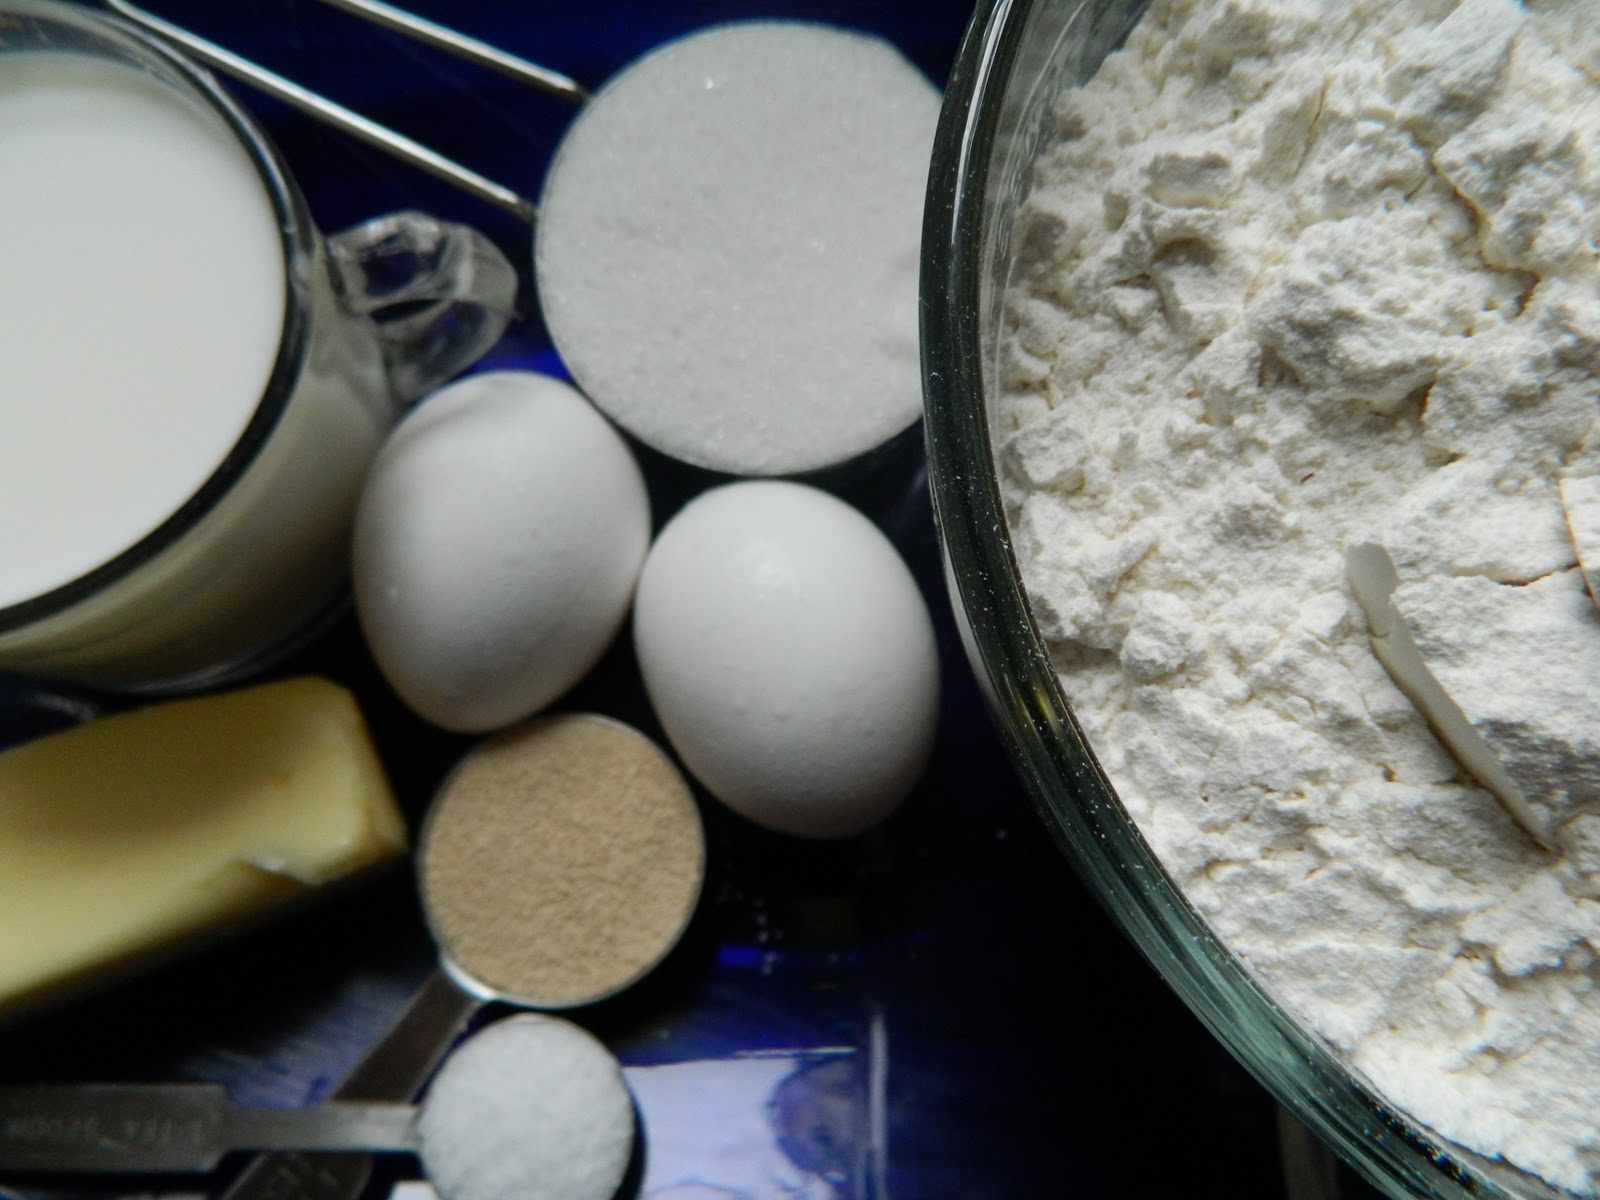
Trying out a new ingredient grouping…

Heat your milk and add your sugar and yeast to proof

Melt butter

Add eggs

Add butter

Add salt to your flour and mix…
Let raise till doubled..
Now here is when everything headed south… even though my yeast proofed ( so I thought kinda hard to see in milk) my dough NEVER raised… I had to run to town to get more pipes and paint for the bathroom and when I got home the dough was raised slightly but nowhere near what it should have been after two hours of raising… I thought I might as well use it and not waste the ingredients when I picked up the dough from the bowl there was no gluten activated… it was all dead.. so I restarted and added 1/3 cup of warm water to my bowl added the yeast.. seen that it really DID proof added my sugar, milk and eggs in after and proceeded with mixing…. By then the house was a uproar because someone looked at this person and that person punched that person and the sick person came down stairs and wanted food so I gave up taking pictures of the right way… I just showed you the wrong way to do it so you know not to do it that way…
Har har har… what a sharing person I am…
I added and this is completely optional ½ cup of potato flakes in my dough… I keep reading how they add a softness and chewiness to your rolls and wanted to see if it works…
It does but if you don’t have any don’t bother..

But I did have a little hissy fit over the wording they used on their packaging “homemade has met it’s match”? really? I beg to differ..

Roll out your dough and add your butter cinnamon and sugar mixture

Roll up your dough…. Ever wonder why the store bought ones are flat on top?? Well not flat but well rounded not like towers like most homemade cinnamon rolls? Do not stretch the dough as you roll..

I divided my dough in half and made 24… with each log cut 12… with a sharp knife other wise you will end up sawing and ruining all your work… in a greased pan let raise for 30 mins..

Now imagine the rolls browned and frosted with cream cheese icing..
Since I only cooked one batch of rolls I put the other 12 in a pan (before the second rise) covered in the fridge over night… the next day I laid them out for an hour and a half to rise ( my house was cold)  and then cooked them as normal.. this recipe would be great for when you have company stay over and want homemade rolls  in the morning but don’t want to get up at 3am to start making them…


Recipe:
     Dough:
1 cup warm milk (110 degrees F/45 degrees C)
2 eggs, room temperature
1/3 cup margarine, melted
4 1/2 cups bread flour
1 teaspoon salt
1/2 cup white sugar
2 1/2 teaspoons yeast
1/3 cup of warm water
 Filling:
1 cup brown sugar, packed
2 1/2 tablespoons ground cinnamon
1/3 cup butter, softened
Icing:
1 package cream cheese, softened
1/4 cup butter, softened
1 1/2 cups confectioners' sugar
1/2 teaspoon vanilla extract
1/8 teaspoon salt
Dissolve the yeast in the warm water in a large bowl.  Let proof. Mix in the milk, sugar, butter, and eggs. Add flour and mix well. Knead the dough into a large ball, using your hands dusted lightly with flour. Or in your mixer with the dough hook. Put in a bowl, cover and let rise in a warm place about 1 hour, or until doubled in size.
After the dough has doubled in size turn it out onto a lightly floured surface, cover and let rest for 10 minutes. In a small bowl, combine brown sugar and cinnamon.
Roll dough into a 16x21 inch rectangle. Spread dough with 1/3 cup butter and sprinkle evenly with sugar/cinnamon mixture. Roll up dough and cut into 12 rolls. Place rolls in a lightly greased 9x13 inch baking pan. Cover and let rise until nearly doubled, about 30 minutes. Meanwhile, preheat oven to 400 degrees F (200 degrees C).
Bake rolls in preheated oven until golden brown, about 15 minutes. While rolls are baking, beat together cream cheese, 1/4 cup butter, confectioners' sugar, vanilla extract and salt. Spread frosting on warm rolls before serving.

Peach Pie

Friday, September 16, 2011

| | | 0 comments


What do you do when someone gives you a bucket of peaches??

Well if your like me you put them on the counter and at least ten times a day walk past them and think to yourself … ‘ I have to do something with those’

You make peach pie!!!

Yup… you’ve guessed it.. my latest obsession is pies… in the spring it was  cookies… now pies…

So I went on a search for the best peach pie recipe… I wanted something that wouldn’t run… that wouldn’t be so sweet that my teeth were on edge for the rest of the day..
Over all something I could sit down and eat the whole pie and enjoy it till the last bite..
Nada… or maybe I was looking in the wrong direction.. or something but I came up with a variation of four cups of sliced peaches.. two cups of sugar… ack!!! Then 8 cups of peaches and peach jello..  nope… so I took ends and pieces of what I wanted and came up with a naturally sweetened pie that holds together and I think you can do pretty much any fresh fruit with…
Side note:  Peaches and banana’s have a nasty habit of turning brown once the air hit them… so  you need ascorbic acid..( lemon juice) .. I read somewhere if you put your peaches and banana’s 7-up for a few minutes it stops this from happening too but I never have that around so I used lemon juice in the pie to keep the peaches nice and bright… no one wants to eat a brown pie… Orange juice does the job too..


So here we have our ingredients…  I did a crumb topping and then a double crust.. I was going to show the crumb crust being made but the words of my sister rang in my head… “ If you don’t know how to cream butter and sugar together by now you’re an IDIOT!!” and I was feeling a wee bit lazy and decided to let the idiots flounder about in their own kitchen… I was doing a fine job floundering about in mine.

All but the crust dumped in the bowl… mix well..


I love the site of butter… no diamond would make me swoon like a pat of butter does..

The light bouncing off the peaches makes it almost a shame to bake them...

Bake forever… and then let cool and enjoy…

Those little pockets of jelled fruit on a pie was a weakness of mine as a child...


Recipe:
6 cups of sliced peaches
3/4 cup of sugar

2 tablespoons cornstarch
¼ teaspoon of salt
½ teaspoon of vanilla
1 tablespoon of lemon juice
3 tablespoons of butter

Pie crust

Directions:
Mix all ingredients aside from crust and butter
Roll out pie crust and pour peaches in, dot with butter… cover with another pie crust or top with a crumb crust… or leave plain…
Bake @ 400 F for 35 minutes then lower heat to 350 and bake for another 40 to 45 minutes till crust is brown.
Let cool for one hour and serve.

Samosas

Tuesday, September 13, 2011

| | | 2 comments


I am on another mission.. or rather back to my former mission of making everything from scratch again.. I never went back to processed foods but just resorted to doing the bare minimum for Adam and kids concerning snacks.. maybe it is the weather finally cooling down and it makes me want to crank up the oven full time and pump out goodies for the crew.. So here I am on the search for more recipes that I can make with what is just in my cabinets.

  Indian food is so nice on cold days.. even when your feet are frozen at least your belly will be on fire…

So today it is samosas..


Here we have our filling ingredients and our crust..

First lets get our crust made… ( I think next time I won’t use the processor)


Flour, butter, salt and water..

In processor add your flour salt and part of your chopped up butter..


When the dough starts to become crumbly add your other stick of butter.. ( from this point on I ended up mixing it too much and should have just continued in a bowl but I thought I getting a shortcut but it made it that much harder.)


Add your ice water…

Pat out into disks and shove in freezer for about 20 minutes..


Meanwhile back at the stove we take some butter and melt in a pan…


Add your onions


Add your garlic ( I chopped mine pretty big.. was having a extra lazy day they worked out fine since they became minced once the masher was involved)


Now this is my favorite spice.. there is many many  curry blends out there but this brand is by far the best I have ever tried.. Recipe called for 1 teaspoon I added 2 and I think it could have used yet another to really have that flavor..


Dump your spices in the onion garlic mixture and stir well…


Next add your potatoes


Mix around pretty good.. get all those flavors on the potatoes..


Haul out your masher.. and start mashing..


I wanted some chunks in there but feel free to make it smooth if you like


Now our dough is cold again..


Roll out and with a biscuit cutter get as many rounds as you can I got about 18 per disk


Now this looks like way to much but we want these stuffed and the dough easily folds around the filling


Pinch the sides together.. if needed use some water to wet the  edges to get a better seal..


Bake 15 to 20 mins..

I had something else lined up to go in the oven so I think mine could have used a few more minutes to brown but they were perfectly done and even better the next day!


Print Recipe 

Recipe

Quick flaky pastry:

2 1/2 cups King Arthur Unbleached All-Purpose Flour

1/2 teaspoon salt

1 cup unsalted butter, chilled

1/4 to 1/2 cup ice water

Filling:

2 cups cooked potatoes, drained and cubed

2 tablespoons butter

1 cup diced onion

2 cloves garlic, minced

1 teaspoon curry powder

1/4 to 1/2 teaspoon cumin, to taste

1 cup frozen peas, thawed

1/2 teaspoon Sriracha hot sauce, to taste (optional)

salt, pepper to taste

1) Combine the flour and salt in a mixing bowl. Cut in half of the chilled butter with a pastry blender until the butter/flour mixture resembles granola. Work quickly to keep the butter as cold as possible.
2) Dice the remaining butter and add to the butter/flour mixture in the bowl. Work in the new butter until it is the size of dried cranberries. You can flatten the pieces slightly with your fingers as you go along, creating leaves of butter coated in flour.
3) Sprinkle about half of the ice water over the butter/flour and work gently, adding more water as needed until the dough forms a rough mass. Knead the dough for about 30 seconds.
4) Divide the dough in half and press gently into 2 discs. You should still be able to see bits of butter in the dough. Wrap each disc in plastic wrap and refrigerate for 30 minutes. You can keep the dough in the fridge up to overnight if desired.
5) While the dough is chilling, prepare the filling. Melt the butter in a medium-sized saute pan. Add the onions and garlic, cooking for two to 3 minutes until the onions turn translucent. Take care not to burn the garlic.
6) Add the curry powder and cumin and saute for an additional minute. Add the potatoes and turn to coat well in the spices. Cook and break up the potatoes for a few more minutes. You can mash the filling smooth at this time, or leave pieces of potato according to your preference.
7) Taste the filling for seasoning, adjust with salt and pepper and Sriracha hot sauce if desired. Remove from the heat and stir in the peas, taking care not to break them up too much.
8) Allow the filling to cool to just barely warm. When you are ready to roll your dough, preheat the oven to 400°F and line two half sheet pans with parchment paper.
9) Working with one disc at a time, roll the chilled dough to 1/8" thick. Cut circles of dough with a sharp edged round 3" cutter. Place 2 tablespoons of filling onto each round and fold the dough into half moons. Use a touch of water to help seal the rounds if needed.
10) Use a fork to seal the edges of each samosa. Place on the parchment-lined sheet and brush with egg wash to coat. Bake for 15 to 20 minutes or until deep golden brown. Serve hot with yogurt or sour cream for dipping.
*the filling recipe is very generous. If you have leftover filling, it can be frozen for up to one month, or served in tortillas for a quick lunch.

LinkWithin

Related Posts Plugin for WordPress, Blogger...

Total Pageviews

free counters