Pie Crust

Monday, August 15, 2011

| | | 3 comments

If I had a nickel for every fight DH and I had over pie crusts and who could make them better…

 I would have at least 5 bucks.. ( do the math… that is a lot of fights….)
He insisted he could make them better… because when he was younger… he made ONE pie crust and it was the best… everyone raved and raved over it.. I challenged him all the time.. make one.. "ohhhh I will later" 14 years I have been hearing about some stupid pie crust that melted in your mouth…
Mine ranged from the texture of shoe leather to old rotten shoe leather… Mama's recipe didn't work for me.. I got too much water… worked it too long.. didn't let it sit.. was to dry.. not thin enough… not thick enough.. pie crust to me was a battle…. I gave up and started the housewifes worse habit…. I bought pie crust…

They're in the fridge section next to the eggs at walmart if you need to know

Then one day last year I got on a mission.. WHY did they taste like shoe leather? Why do you chip teeth when eating? Wasn't butter better than shortening? What? Why?
Even though I think she is a fraud Pioneer woman had a blog about pie crusts.. it helped so much.. you mean? You mix it very lightly and then leave it alone?? You don't knead it?? Ok I wasn't kneading it but it was close. I learned that a mixture of butter and lard make a flaky tasty crust… that once you mix it you need to put it in the freezer for at least 20 mins so your butter has time to get cold again… other wise it will melt too fast in the oven causing your pie crusts to "melt" when the sides fall down or the rim starts to drip off the pie plate? Yeah.. let it cool back down.. the heat of working it and if your like me and hate pastry blenders or don't have you the heat of your hands causes the butter to melt… so in the freezer it goes.
The amount you mix is actually a big deal too.. you want big chunks of fat to be there so when it melts it makes it flaky.. use ice cold water… and when you mix the final mixing with water only a few stirs until the flour comes together and you can form a ball is good enough… don't go past it or shoe leather will be surfacing.
*Note:
So here is my flaky pie crust.. one step is missing... just when you get to that part imagine a crabby housewive and kids asking every 2 mins if they can have the last of the cheesecake...then have pity for her and come clean her house..


Big bowl.. we have flour, salt, butter and lard


Mix lightly until you start to see little balls forming…
*
Add your water.. mix until ball forms.. ( See note above)

Lighty shape into round patties like so..put them in bags and plop them into your freezer for 20 to 25 mins

Your pie crust is ready for you now..
I wanted to do a blackberry pie for dessert today with a lattice top so I thought I will show how


Bottom crust rolled out and filling in…

Lattice work.. I inherited my moms pie cutter thingy when I got married and it makes beautiful scalloped edges


Lay out your strips

Pull back every other strip half way up


Lay a strip of crust on

Carefully lowering the strips over


Pulling back now the opposite strips
Laying down another strip.. this is all done with carefulness, you don't want to tear the strips.

Camera taking pictures on it's own

Continue until all lattice work is done.. it should look like a weaving..


Fold over crust edges and crimp… Your done!! Well…. Now it is time to bake and clean up the mess.

Print Recipe

Recipe:
1 ¼ cups flour
½ teaspoon salt
4 tablespoons of butter
4 tablespoons of lard or shortening
3 tablespoons of ice water
Mix flour and salt, dice up butter and spoon out shortening into flour mix until small clumps form ( there will be large chunks of butter)
Add ice water and mix until forms a ball, pat into round patties and place into plastic bags, set in freezer for 20 mins or one hour in fridge.


Broccoli and Spinach Quiche

| | | 2 comments


What do you do when your starved? You cook something.. what do you do when starved AND your house is clean and your kitchen is spotless?? You blog what you cooked.. Last night as I was making chicken wings and fries at 8 pm because everyone was hungry. I had a little fit because the cabinet door wouldn't close all the way.. Causing the tower of pots to topple over and crash on the floor… ( anyone who has kids that put up dishes understands moments like these) the cause? Besides lazy kids that shove.. was my quiche pan.. As I jerked it out spouting unlady like words I had a sense of dread come over me… Here I am trying to use everything in this house.. If it doesn't get used toss it or give it to someone who can… and the quiche pan is staring back at me mocking…
I paid good money for that stupid pan.. the most I had ever spent on a baking pan..Ever… ok it was only 15 dollars that I had saved in my ebay account but still.. it could have been used to buy more jars or bottles!! It didn't help that at least a month after I got that one I found a deeper round one for 50 cents at a yard sale..
I only used it once.. in the 9 months I have had it..
I was ashamed.. then the smell of fries burning reminded me I could only cook one thing at a time.


So this morning nothing sounded good.. and the mushrooms and spinach was begging to be cooked.. Better use those pans before lightening strikes me..
Before I go on I will apologize for the quality of the pictures.. our "good" camera is missing… lost on some adventure that Adam or the kids took.. I have tore up the bottom of this house looking for this stupid camera… next is upstairs …until we find it I have to use the back up… there is a short somewhere.. so as soon as you turn it on it starts snapping pictures.. so pretty much you have to have everything perfect and your camera pointed at the right object and just hold it till your done.. it takes a bit to weed through the shots of half of kids heads or bowls or the ceiling but it gets the job done..
Makes blogging THAT much more fun…
"Then why do you do it then?" Because facebook doesn't have any good drama on..


I've only made a few quiche.. I had some that tasted like dog food… or rubber.. but I do love them.. and something about summer makes me rethink all my anti vegy thoughts and want to try and eat more..
With less butter.
This one looks promising…


We need eggs, cheese, half and half, sour cream, mushrooms, onion, spinach, broccoli and pie crusts.

 
Dice up your onions, slice mushrooms and chop your spinach.. that is a big pile of spinach.. don't get too excited.. it cooks up to nothing.

 
In a pan start cooking your spinach with a little oil, in another cook your onions for a few mins…

 
Add your mushrooms and by now your spinach is wilted… you want to drain the spinach so there isn't any extra juice in your quiche.
Sauté your broccoli.


With your sourcream add some salt and pepper and divide between the spinach and broccoli..


Spread on the bottom of your pan
Add your mushrooms and onions evenly and the cheese.

Mix eggs with half and half


Pour over both quiches.


Bake 40 mins
Let rest 5 mins before digging in.

I will post a recipe for pie crust later... the only one I have found that is flaky and worth your time.

Print Recipe

Recipe:
Ingredients
·         1 (10 ounce) package frozen chopped spinach, thawed
·         1 (8 ounce) container sour cream
·         salt and pepper to taste
·         2 tablespoons olive oil
·         1 onion, finely diced
·         1/2 pound fresh mushrooms, finely diced
·         8 ounces Cheddar cheese, shredded
·         8 eggs
·         1 1/2 cups half-and-half cream
·         salt and pepper to taste
·         2 (9 inch) unbaked pie crusts
Directions
Preheat oven to 375 degrees F (190 degrees C). Cook spinach according to package instructions. Allow to cool, then squeeze dry.
Heat olive oil in skillet over medium heat. Sauté onions until soft and translucent. Stir in mushrooms, and cook for 2 minutes, or until soft. Remove from heat.
In a large bowl, combine spinach, sour cream, salt and pepper. Divide, and spread into pie crusts. Layer with mushroom mixture. Sprinkle Cheddar over pies. Whisk together eggs, half-and-half. Season with salt and pepper, and pour over pies.
Place pies on baking sheet, and bake on middle shelf in preheated oven for 40 minutes. The top will be puffed and golden brown. Remove from oven, and let stand for 5 to 10 minutes.
*Tip* Prebake your pies 15 minutes before filling.. this way they don't have a gooey bottom like mine did!

Churros

Tuesday, August 9, 2011

| | | 1 comments


Costco is a warehouse we have here filled with everything you want… in huge quantities that cost a arm and a leg.. after pushing a cart around the size of a small car.. debating if buying peanut butter in gallon size is saving any money and stocking up on dried fruit and cream, You're tired.. so at the end of the cash registers they have their food court thingy.. after you shell out a boat payment for your ten items you bought what's one more dollar?? I looked forward to that part of Costco.. Their Churros… for about the size of a babies arm you got a crispy sugar coated doughy morsel that replenished all those calories you burned. The downside of them was when they cooled down you got a floury, dry, thirst inducing half a babies arm that usually ended up thrown out..
Last month I wanted something fattening.. Diets are for quitters in my mind then and a churro sounded like it would sooth my soul.. searching for recipes can be just as fun as cooking for me so often I just browse around and saving anything that looks good.. but this time just looking wasn't good enough I had to shove something fattening into my mouth..as I looked deeper into churros recipe I realized they are not much different from Cream puffs or if you want to get all fancy, Éclairs… boil water butter and sugar… throw in some flour add some eggs …. Ohhhh what fun! Lets get fat together!!


If I am gonna fry things I like to keep my oil and reuse it till it starts to make everything taste like a french fried doughnut.. so use a pot with a lid so you reuse the oil..


So here we have eggs, cinnamon/sugar mix, flour, water, salt, butter, and the sugar we use in the dough…


In large pot add your water, salt, sugar, and butter..


Bring that to a boil and then add your flour 


Stir well.. it will become a ball of dough at this point.. I like to wait till it is cool before I add my eggs this way when I am piping them into the hot oil I don't burn my hands.


Turn on your pan to heat up your oil and then add your eggs to the dough…start mixing.. you'll need some elbow grease for this part.. or you could pull out your mixer and beat it with that.. ( I use my mixer when I am making a double batch)


Not done….


Now we are!!


You're gonna need two plastic bags.. a gallon for the cinnamon/sugar mix for after the churros are done and the quart for the dough…


Spoon in your churro dough into the quart bag.. snip off a small corner of the bag.. if you snip off too big your churros will be bigger and take longer to cook… and no.. they won't look like the authentic ones but unless you have the size 25 icing tip this is the best way to make them…


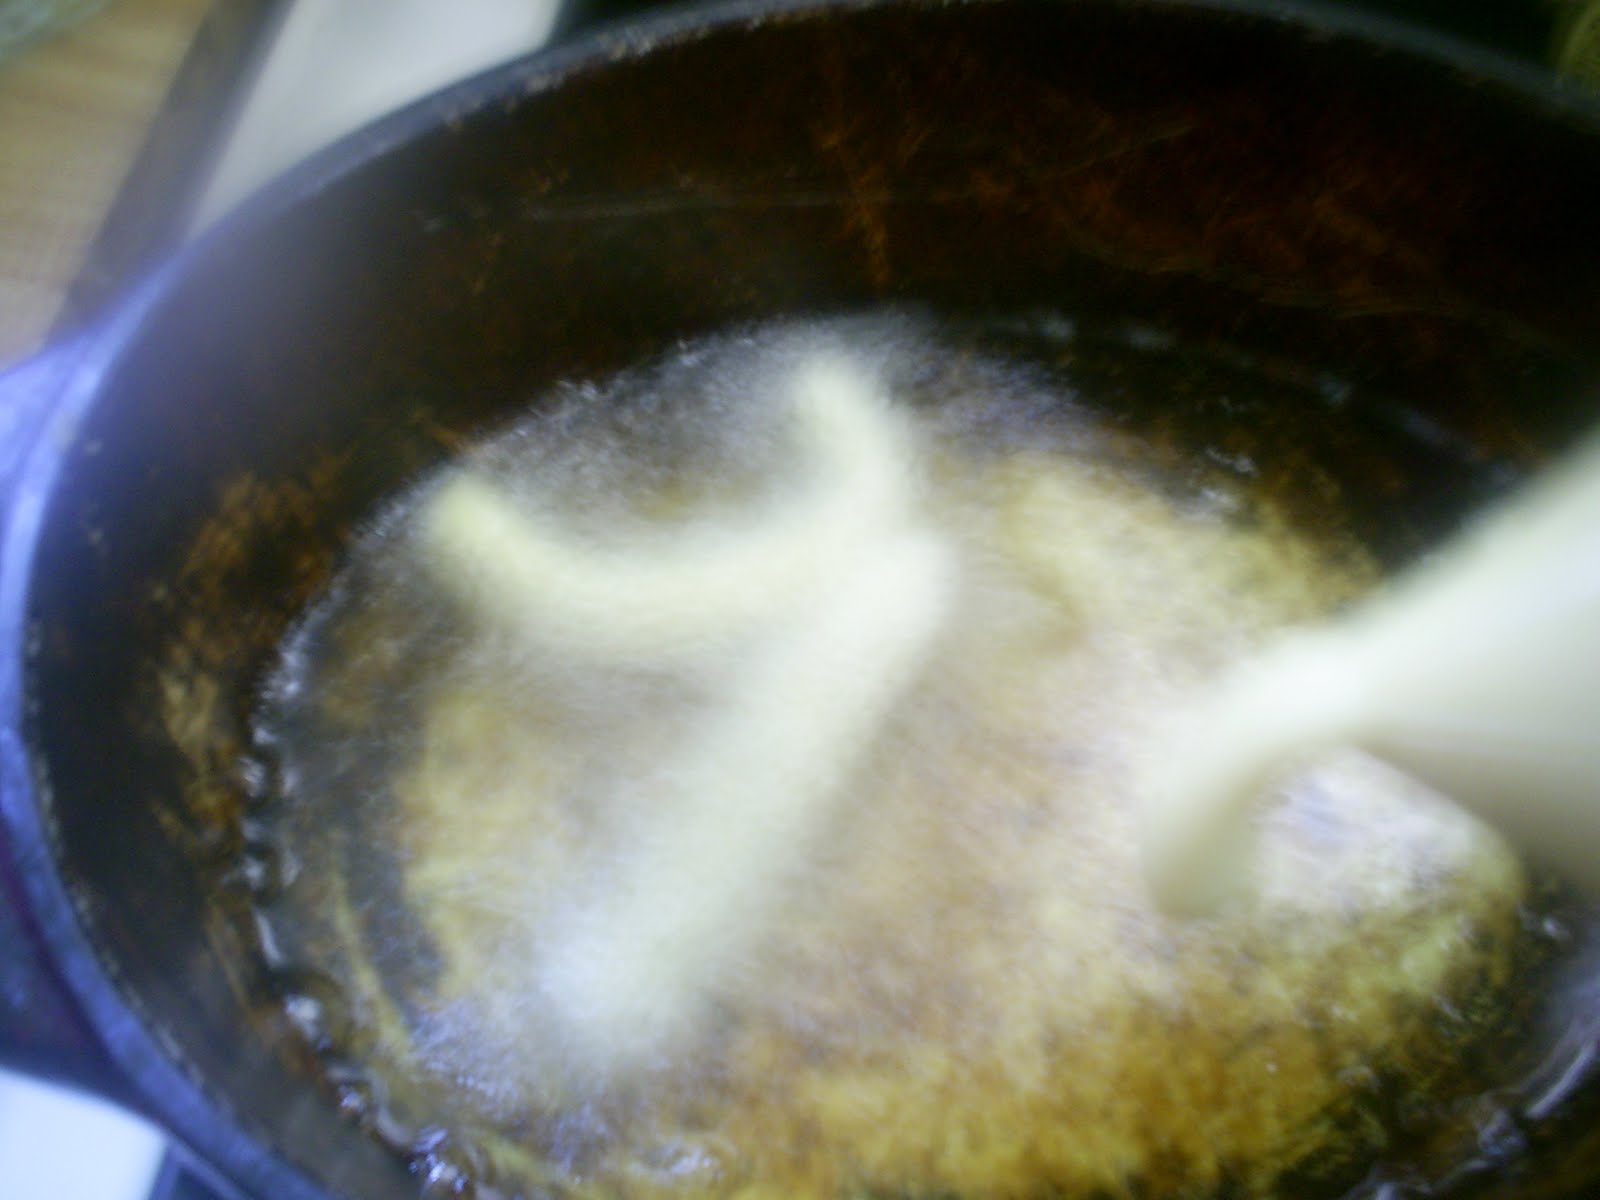
Now here are some crappy pictures… pipe your dough into the hot oil… when you have them long enough ( I make mine about 3 inches) rotate the bag clockwise and it will pinch off the dough for you… leaving your hands farther away from that boiling oil….. mine usually end up curling up looking a tad like……


Well you get the picture.. fry about two minutes on each side, with a slotted spoon transfer to a colander to let drain.. meanwhile add more dough to fry..

Add your churros to the cinnsugar mix and shake till completely covered.. transfer to a plate and then rush back to the pan before the other ones start to burn.. repeat till all dough is completely done…

Print Recipe

Recipe

 
Ingredients:
  • 1 cup water
  • 2 Tbs brown sugar
  • 1/2 tsp. salt
  • 1/3 cup butter
  • 1 cup white flour
  • 2 eggs
  •  1/4 cup sugar
  • 1/2 to 1 tsp. ground cinnamon, depending on taste


Directions: Preheat 1 1/2 to 2 inches of vegetable oil in a 10 to 12 inch frying pan to 375 degrees F. In a separate dish mix the 1/4 cup sugar and cinnamon and set aside.
In a 3 qt. sauce pan add the water, brown sugar, salt, and butter and heat to a good boil. Remove from the heat and add the flour. Stirring in the flour will take some muscle. Mix it in until well blended.
In a separate bowl, mix the eggs and vanilla together and then add this mixture to the flour mixture. Stir until well blended and all the egg is completely mixed in.
Fill your bag snip off tip
Test your oil by placing a small amount of dough in it. The dough should bubble up right away or that means the oil is not hot enough and a soggy churro is on the way.
Once the oil is hot enough, squeeze some dough  into the oil about 4 inches long.  Careful not to burn yourself.
You should be able to cook 4 or 5 churros at a time. Cook them about 1 minute and turn them over with a slotted spoon. Cook an additional minute or two. You're looking for that nice golden brown color. Remove the churros with the slotted spoon and place them on a paper towel-covered plate to absorb excess grease.
While still warm, roll each churro into the dish with the sugar and cinnamon until coated.

LinkWithin

Related Posts Plugin for WordPress, Blogger...

Total Pageviews

free counters